How to Hang a Wooden Shelf
Storage spaces are getting to be a rarity at this time and are getting more scarce as the prices of real estate properties and general living spaces go up. Due to that fact, we need to come up with various ways and means to maximize the space available in our present homes.
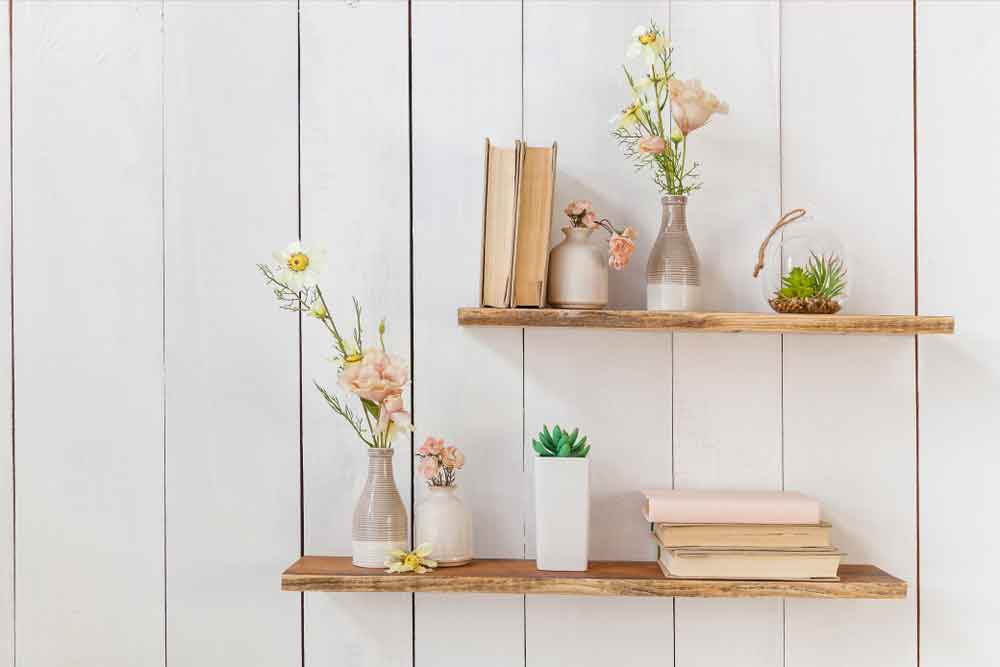
Installing wooden shelves is a speedy and straightforward way to provide additional storage space to any room. A stable wooden shelf can hold decorative antiques, photographs, books, or just about any item you wish. However, you must take the necessary time to mount the shelf correctly, using appropriate support, or else, it might not be firm enough to be able to support the weight that you set upon it.
Tools and Materials
You should have a drill with a 1/8-inch drill bit, a stud finder, a pencil for marking, tape measure or ruler, brackets, toggle anchors, a leveling tool, and 1.25-inch wood screws.
Find the Wall Studs
Wall studs are vertical framing elements that support the walls of houses and buildings. They are often spaced between 16 to 24 inches (measured from center to center) apart and have smaller cross-sections than typical posts.
Before you begin drilling holes, you would need to locate the studs inside your drywall. When you drill into the studs, you are sure to have the maximum level of support for your shelves. Slide the stud finder laterally on the wall while marking (with a pencil) the spots on it where the sensor starts to beep, indicating the position of the studs. For optimal results, mount the shelf brackets between two studs. Use your tape measure or ruler to check that the distances of your pencil marks are the same from the ground, and near enough from each other to support your shelf.
The Drilling Process
Drill into the points on the wall that have the pencil marks with a 1/8-inch drill bit, making way for the anchors. If you intend to use your shelf for light items such as picture frames, just attach the bracket to the wall with ordinary metal wall anchors and appropriate screws. For supporting heavier loads, you can opt for the more stable toggler anchors available in home improvement depots.
Anchoring Your Brackets
Position one shelf bracket perpendicularly on the wall, making sure that the top mounting hole of the bracket coincides with the wall hole. When installing your brackets, use a level to ensure that each bracket is in perfect alignment with both the vertical and horizontal axes. Slip the anchor into the hole in the wall, then put the correct screw through the anchor. You can secure the bracket more firmly to the wall by inserting more screws into the mounting holes along the length of the bracket. Repeat this procedure for the second bracket. If you expect to put a hefty load, you might need to install one more bracket at the center.
Positioning the Shelf
Position the shelf squarely onto its brackets. Underneath the shelf, you will notice one or two mounting holes at the front of each bracket. Drill one screw up through each mounting hole, thereby securing the bracket to the shelf and forming a durable foundation. Use 1.25-inch wood screws while taking care not to drill into the shelf.
In case you have a small shelf that has keyhole mountings at the posterior, and you intend to use it only for light items, you can forgo with using the brackets. Put anchors into the stud, drill one screw into each of the anchors, and slip the keyhole mountings into the screws.
Final Check Before Loading the Shelves
After the installation, give the shelf a thorough once over to check for loose screws, anchors, or brackets. Put some weight or pressure on the shelves by pulling at them using your hands to see if there are noticeable movements. These final inspections are vital to the rigidity of the shelf, mainly if it is meant to carry heavy loads. If you are satisfied with the results, go ahead and start putting your stuff and enjoy it!