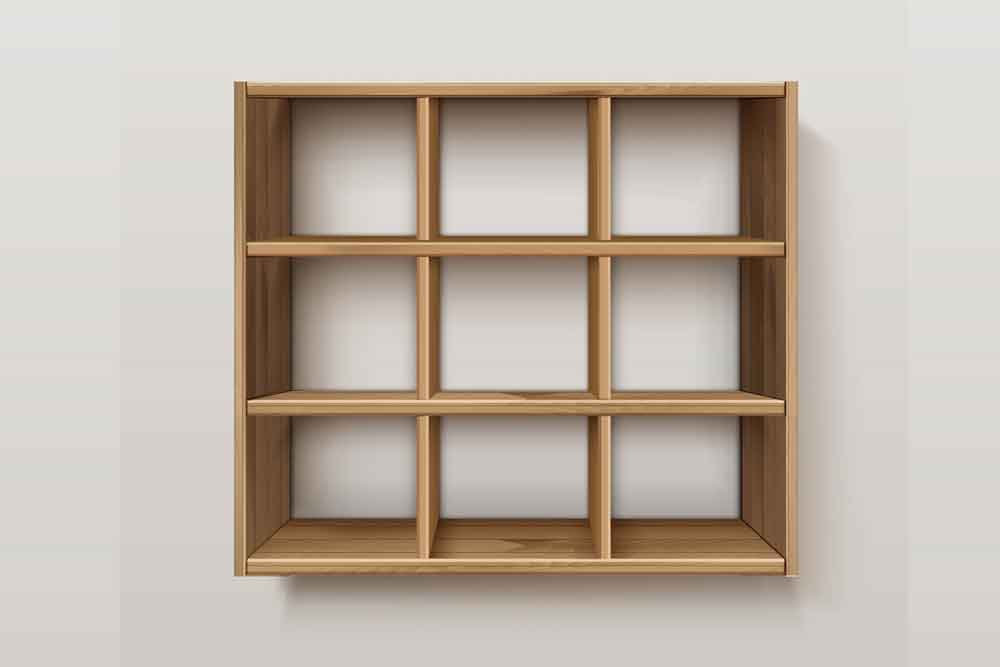
How to Attach Storage Cubes to a Wall
Storage cubes can add to the aesthetics of your room and allow you to maximize your available storage spaces. Provided the cubes are firmly affixed on the wall, they can hold heavy objects, like books or containers of stuff that usually clutter up your room. Securing the cubes to the wall is relatively straightforward and requires a few essential tools to accomplish. After that, you would only need to decide which items to place in the cubes.
Things You Will Need
Before anything else, gather up the tools and materials you will need for this project: a countersink bit, a drill, some drywall anchors, a few L-brackets, a level, a measuring tape or ruler, some paint of your desired color, a paintbrush, a pencil, sandpaper, a screwdriver, a stud finder, some wood putty, and lastly, a few wood screws.
Hanging the Cubes using Brackets
- Right side up
Turn the cube over in such a way that the bottom will face up. For some cubes, it wouldn’t matter which side should be at the bottom.
- Positioning the L-bracket
Put a decorative L-bracket squarely at the bottom of the cube. Position the bracket near the cube’s outermost corner, making sure that both the cube’s and the bracket’s backs align with each other. The bracket’s other leg should be pointing up, toward you.
- Using the Correct Screws
You need to check the length of the wood screws against the thickness of the cube. Ideally, the screws must be a bit shorter than the wood thickness. For example, if the wood at the cube bottom is one inch thick, use wood screws ¾ of an inch long to attach the bracket. After the correct dimensions are confirmed, start driving the screws through the bracket holes and into the cube to hold the bracket in place.
- Additional Bracket
Attach the second bracket into the other side of the cube using screws with the same length established earlier.
- Wall Studs
Look for studs inside the wall using your stud finder. Slide it laterally on the wall until you hear it beep quickly, which means it has detected a stud. Position the cubes in such a way that at least one of the brackets is fixed on a stud.
- Leveling the Cubes
Place the cube at the part of the wall you intend to hang it. Put your level on the cube to verify the cube’s alignment. Mark the corresponding screw holes at the bottom of the L-brackets.
- Drilling
Drill holes going through your pencil marks on the wall. Use drywall anchors for marks/holes that don’t coincide with wall studs. The anchors expand when you drive screws, and grip the drywall firmly.
Hold the cube making sure the bracket holes align with the drilled holes. Drive 1.5-inch wood screws into the brackets and the wall. The L-brackets, which are fixed on the wall, secures the cube. Since these L-brackets are visible, use decorative variants to suit your taste.
Hanging the Cubes using Screws
- Level the Cube and Locate Wall Studs
Place the cube on the portion of the wall where you intend to hang it. Use a level to verify its alignment. Look for wall studs with your stud finder to ensure a more secure attachment. It is optimal to have two or more screws on a stud.
- Drilling Holes
Ask someone to hold the cube in place as you drill holes through it and into the wall stud and drywall. Drill four holes, each measuring approximately one inch within each of the four corners. Use your countersink bit to produce a shallow pit around each of the holes.
- Use the Correct Screws
Use drywall anchors for any holes that do not fall on wall studs. Secure the cube to the wall with wood screws. The wood screws should have a length twice that of the cube wood thickness (i.e., for a cube with 1-inch-thick wood, use wood screws 2 inches long).
- Finishing Touches
Conceal the wood screws using wood putty matching your cube’s interior color. Allow the putty to dry, then smoothen it by sanding. In case your cube’s interior is painted, cover the wood putty with paint of the same color.